The Pauper's Drop Market.
- “Deep down in the heart of Pauper's Drop is a little spot the locals call Market Square. If you're hungry, looking for an ADAM fix, or just need a dry bed for the night, the Market's got what you're looking for. Stop on by... but watch your back.”
- ― Level description
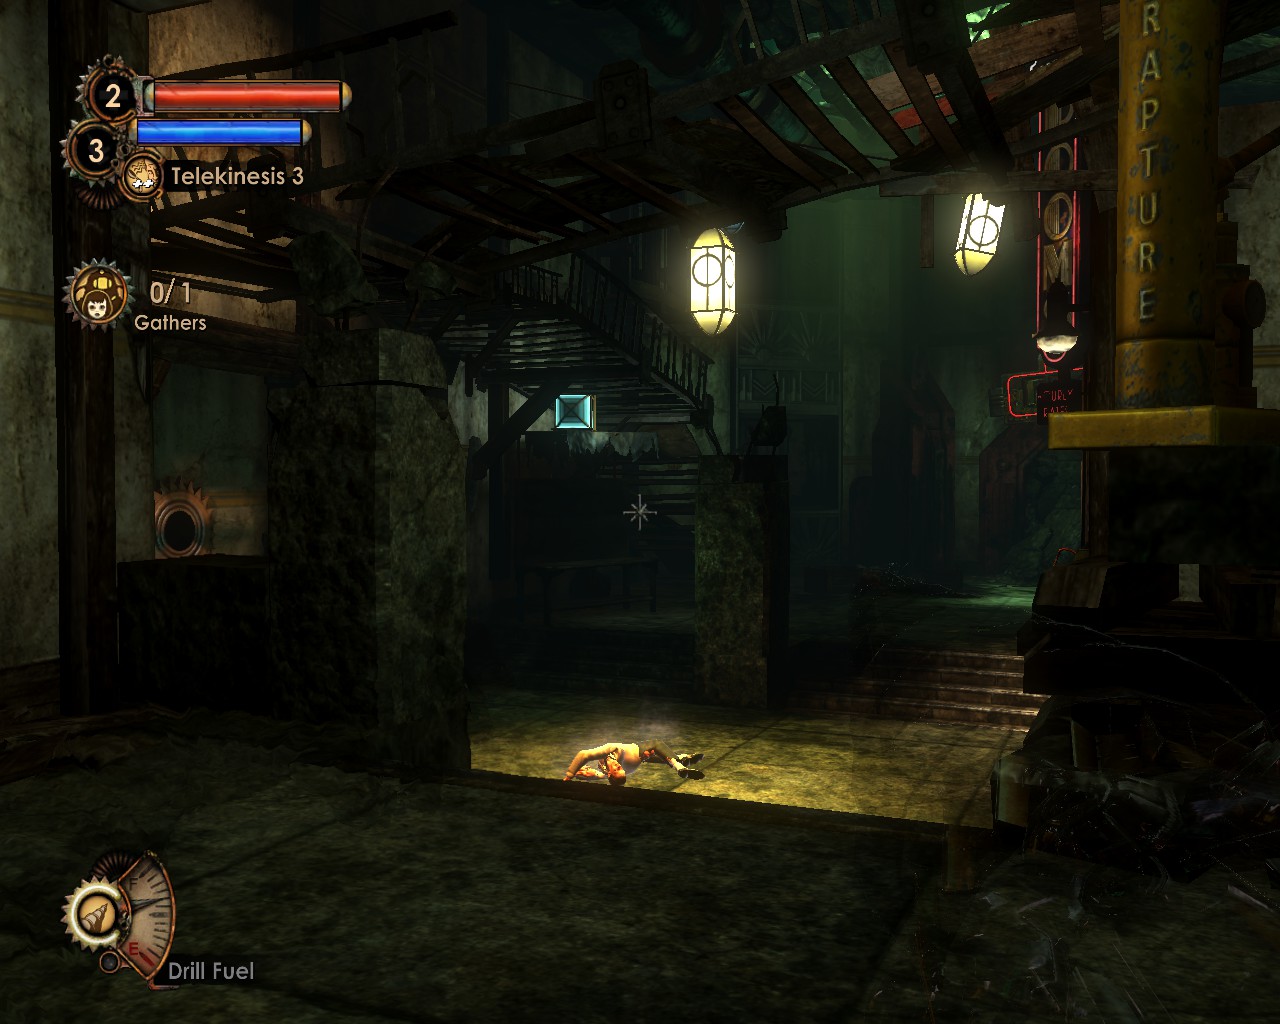
Pauper's Drop Market is a retooled environment from the BioShock 2 single player campaign, and it is the third level for The Protector Trials downloadable content. It is inspired by the Skid Row section located in Pauper's Drop.
General Tips[]
Types of Enemies Encountered (By order of appearance)[]
Vending Machines[]
- Circus of Values located west of the ADAM Corpse.
- El Ammo Bandito located east of the ADAM Corpse to the south.
- Health Station located south of the ADAM Corpse in the building on the southernmost wall.
Map[]
This map is interactive. Click on an icon to find out more about it, or choose a tab to see a different map.


Health
Station
Station
Circus of
Values
Values
El Ammo
Bandito
Bandito
Gatherer's
Garden
Garden
Gene
Bank
Bank
Bot Shutdown
Panel
Panel
ADAM
Corpse
Corpse
Little Sister
Vent
Vent
Power to the
People Machine
People Machine
Audio
Diary
Diary
Plasmid
Gene
Tonic
Tonic
Trials[]
Trial One[]
Equipment[]
- Weapons: Shotgun (Damage Increase upgrade), Spear Gun (All upgrades), Rivet Gun (Damage Increase and Increased Clip Size upgrades)
- Ammunition: Solid Slugs, Spears, Heavy Rivets
- Plasmids: Cyclone Trap, Decoy 2
- Gene Tonics: Fountain of Youth, Headhunter
Tips[]
- Cyclone Traps are useful to secure the area around the Little Sister.
- Keep the Solid Slugs for the Brute Splicers as this type of ammo will stop their charges and make them fall.
- With Headhunter, try to always aim for the enemies' heads to kill them in one shot for the weaker opponents, and three or four shots for the Brute Splicers.
- Use the Spear Gun against distant enemies, especially the Leadhead Splicers, but keep the Shotgun for close combat.
- Don't try to refill your health in a pond of water with Fountain of Youth, as you are more vulnerable while doing it, but if you must, try moving around as much as possible in the puddle.
- Use Decoy 2 to distract your enemies so you can refill your ammunition at the Vending Machines.
Trial Two[]
Equipment[]
- Weapons: Machine Gun (All upgrades), Hack Tool
- Ammunition: .50 Caliber Rounds, Anti-Personnel Rounds, Mini-Turrets
- Plasmids: Incinerate! 2, Winter Blast 2
- Gene Tonics: Ice Storm
Tips[]
- Incinerate! 2 is useful to make the Splicers step back when swarming at you or the Little Sister, but don't fire at someone in or near the pond of water as it will have no affect. You can try to charge it to fire fireballs at group of enemies, but it will cost you more time, possibly Health and EVE than to simply set them one by one on fire.
- Winter Blast 2 is useful to stop the enemies in their progression, but only charge it against the Brute Splicers to gain you some time. You can take out frozen enemies with Winter Blast 2 causing sharp icicles to hit other enemies, doing more damage.
- The Miniature Turrets can provide good defenses against the weakest enemies (Thuggish and Leadhead Splicers) and will also distract the tougher enemies, but don't forget that ammunition is limited in the Vending Machines.
- Keep the Anti-Personnel Rounds to use against the Brute Splicers. Try to freeze them with Winter Blast 2 to kill them more quickly, though you will not get any items from killing them while frozen.
- Use your normal caliber rounds on smaller enemies for crowd control, since the gun has all upgrades, allowing it to ricochet bullets fired.
Trial Three[]
Equipment[]
- Weapons: Drill, Hack Tool
- Ammunition: Drill Fuel, Mini-Turrets
- Plasmids: Insect Swarm, Security Command 2
- Gene Tonics: None
Tips[]
- Before starting, call in a couple of Security Bots with Security Command 2.
- Immediately after laying down the Little Sister, deploy two to three Mini-Turrets around her.
- Set up Mini-Turrets as you please to add firepower, but be aware that the El Ammo Bandito station has a limited supply for restocking. Give them your support, especially against Brute Splicers.
- Use Insect Swarm to have enemies stay in one place to pin them down with Security Bullseye in order to take them out way quicker. Bigger enemies should also be targeted with the drill in order to maximum amount of damage.
Behind the Scenes[]
| Locations and Businesses in Pauper's Drop | ||
|---|---|---|
 | Maintenance Junction 17 | Atlantic Express · Fishbowl Diner · Marlene's Flower Emporium |
| Town Square | The Hamilton · King Pawn · Fontaine Clinics · Luxury Rooms | |
| Skid Row, Market, and Tenement Apartments | The Limbo Room · Reliable Pharmacy · Dr. Hollcrofts · Books | |
| Line 47 South East Branch | The Sinclair Deluxe · Sinclair Toys | |
| BioShock 2 Multiplayer | Pauper's Drop (BioShock 2 Multiplayer) · Rapture Metro | |
| The Protector Trials | Pauper's Drop Market | |