
The Central Hub for the arena.
Rapture's Combat Arena is the location of "Worlds of Hurt" in the Challenge Rooms DLC. It consists of eight different rooms, all connected by a central hub. Each room has a different environment based on different levels of BioShock.
Central Hub
The door leading to A Single Big Daddy.


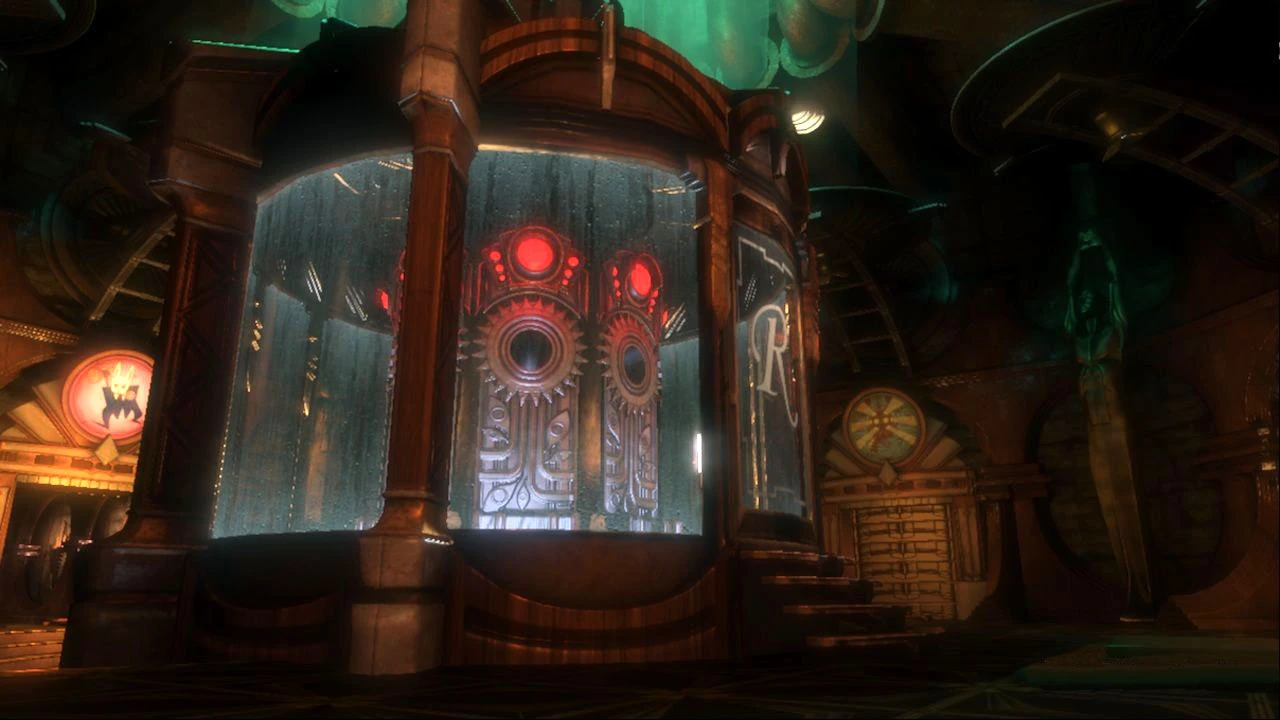
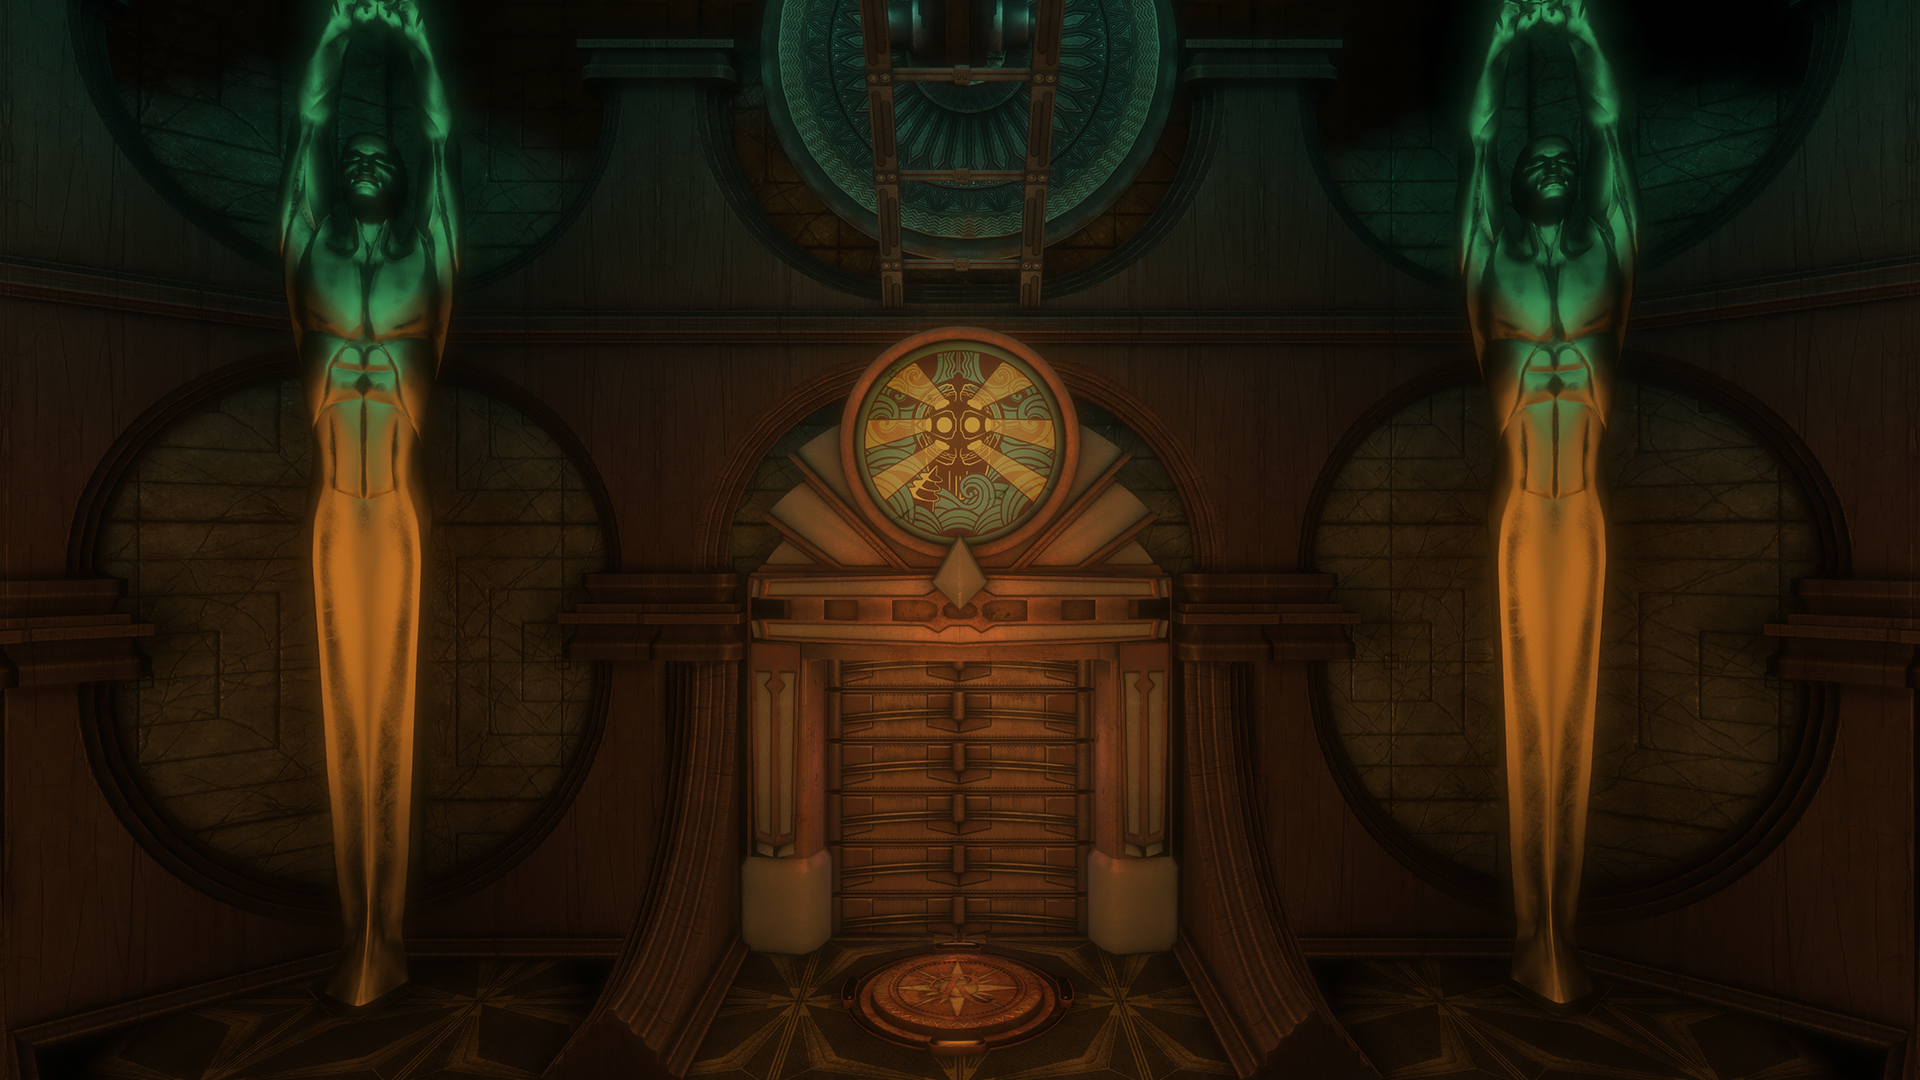
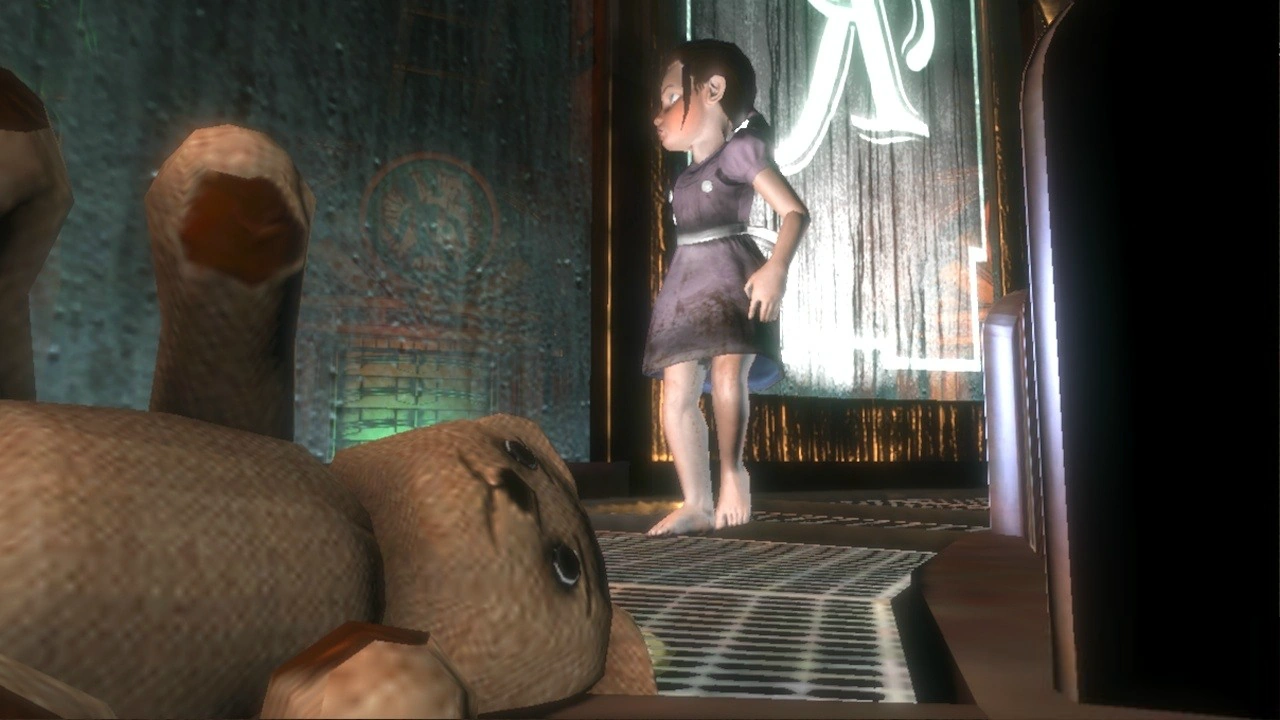
The Central Hub is a large rotunda that the player is returned to after completing each room. In the center of the room is a glass case with multiple Little Sister vents and a Little Sister trapped inside. Like all of the Challenge Rooms, the Little Sister the player must save appears to have already been "rescued" as she bears none of the signs of being implanted with a Sea Slug. She can only be rescued once all eight rooms have been cleared.
"Is it safe to go walking now?"
Along the perimeter of the glass case is one of every type of vending machine (except for the Health Station, of which there are two instead of one, and Power to the People machines which are found in each room). Every time the player clears a room, they receive a gift, which includes money and ADAM that can be spent in the respective vending machines. After the protagonist completes the first two rooms, the Little Sister will pace around the chamber, stop at a vent, and put her ear up to it to listen for the sound of the enemies in the adjoining chamber. If the challenge has not been completed, the girl will recoil and shudder in fear before checking the next vent. If the enemy has been vanquished, she'll wipe her brow in relief.
Stages
A Single Enemy

In the first stage, the player has to kill a lone Thuggish Splicer harassing a Little Sister. Prior to entering the room, the player may pick up a Wrench and a Pistol with six rounds to help them.
The Dr. Grossman Splicer is in a square shaped room with an octuple set of machines connecting to a glass chamber in the center of the room generating red mist. A pair of First Aid Kits can be found at the broken Health Station, two strips of Film are on one of the machines, and another two on an opposite machine. One corpse by the chamber contains twelve Dollars, Kerosene, and Bandages, another in the back corner holds twelve dollars, a Shell Casing, and a first aid kit, and the last one contains twelve dollars, a Brass Tube, and two film.
Once the Splicer is dead, approach the Little Sister to receive weapons, as well as some money and ADAM. A Power to the People machine can be found next to the vent. Afterward, the player will be transported to the central hub for the first time.
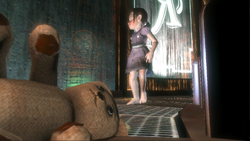
A Single Big Daddy
In this second stage, the player has to kill a Bouncer Big Daddy. Like most Big Daddies found in Worlds of Hurt, it will ignore the player and stand near the Little Sister Vent.
Once again the player finds himself in a square shaped room, but before descending to fight, he can collect the twenty-four dollars and Pep Bar from the corpse in the antechamber. The stage proper is a dark and noisy place lit only by columnar torchiere lamps, the kind of which one might see decorating Fort Frolic. In his rage, the berserk Big Daddy appears to have put several craters in the walls as well as knocked over one of the torchieres. A malfunctioning gauge panel has electrified a large pool of water in the corner of the room which will aid the player in dealing with the Big Daddy, and a Power to the People machine can be found to the right of the vent. A corpse by the vending machine contains twelve dollars, a shell casing, and a Rubber Hose, another one in the water has twelve dollars, Glue, and kerosene, and a steamer trunk holds a Battery, bandages, and Distilled Water. Once the Big Daddy is dead, the player will receive more ADAM and money.
Note: From this point on, the player can complete the rooms in any order they choose.
Security Bots

In this stage, the player must deal with seven Security Bots, a Bouncer, and a Splicer.
Before descending into the arctic arena, the player can gather the twelve dollars and Potato Chips from the pockets of the corpse in the antechamber. They'll notice the environment simulates the frigid interior of Fontaine Fisheries with many rooms encased in large icicles. Just like in the original at Neptune's Bounty, this cold storage cooler has useful items frozen beneath the frost. The drop-off point has a steamer trunk. That room, the ones to the left, right, and center all have Distilled Water. Further on to the left is a room with two steamer trunks. Beyond that is a unit with a Power to the People machine and a thermos of Coffee. The next area houses the Big Daddy, then a room with a Health Station, and finally one with a Waders Splicer mucking about with a Bot Shutdown Panel; the mistreatment succeeds in causing the security alarm to go off shortly after the player enters. If the player has Security Bullseye, they may use it on the Big Daddy so that the bots attack it (Note that the Big Daddy turns hostile the moment he is struck by the Security Bullseye). The player can also hack a bot, which is as acceptable as destroying it. Once all the enemies are destroyed, the stage is over.
Security Turret Maze

In this stage the player must hack/destroy the eleven Turrets, as well as kill all the Splicers and the Bouncer in the level.
Prior to entering the level, it is possible to research the Turrets by taking photographs through the glass floor, thus allowing the player to bypass hacking. When he does enter the labyrinth, he finds himself in an area reminiscent of Hephaestus with its large piping, scattered industrial machines, and harsh lighting. The wide corridors eliminate any feelings of claustrophobia, but the player will nonetheless feel tension as he rounds every bend trying not to come face-to-face with the machine gun, flamethrower, or grenade launcher turrets that dot the maze or the two Breadwinner Splicers that inspect them. It helps to have Wrench Jockey 2 (obtained from researching Bouncers) equipped, as the Wrench can easily destroy a Turret.
Spider Splicers

In this stage, the player must kill the five Spider Splicers roaming the level.
Because of Spider Splicer's penchant to crawl on the ceiling, the player can potentially fully research the enemy before even setting foot in the vast, circular arena. However, when they do proceed in, they find themselves in a dim and grisly simulation of the Medical Pavilion. In the initial drop-down area, a hanged corpse carrying an EVE Hypo roasts above the marquee to the Eternal Flame Crematorium. Further to the right, is a mortuary; EVE Hypos can be pulled out of the wall of morgue drawers by the coffins. Further on is a line of operating tables where the player can locate film and bandages. In the center is a sunken, flooded section dominated by a large vat of neon blue liquid where more film and bandages can be found. Another area has a raised pavillion blockaded with sandbags and security checkpoints. Along the perimeter, the plater comes across multiple gurneys, wheel chairs, and a candle-lit seating area by the Power to the People machine. Another section has This level is much easier if the player has both Wrench Jockeys equipped, as well as Electro Bolt to stun enemies.
Houdini Splicers


The vertical room in the Houdini Splicers challenge.

Attacking a Saturnine cultist.
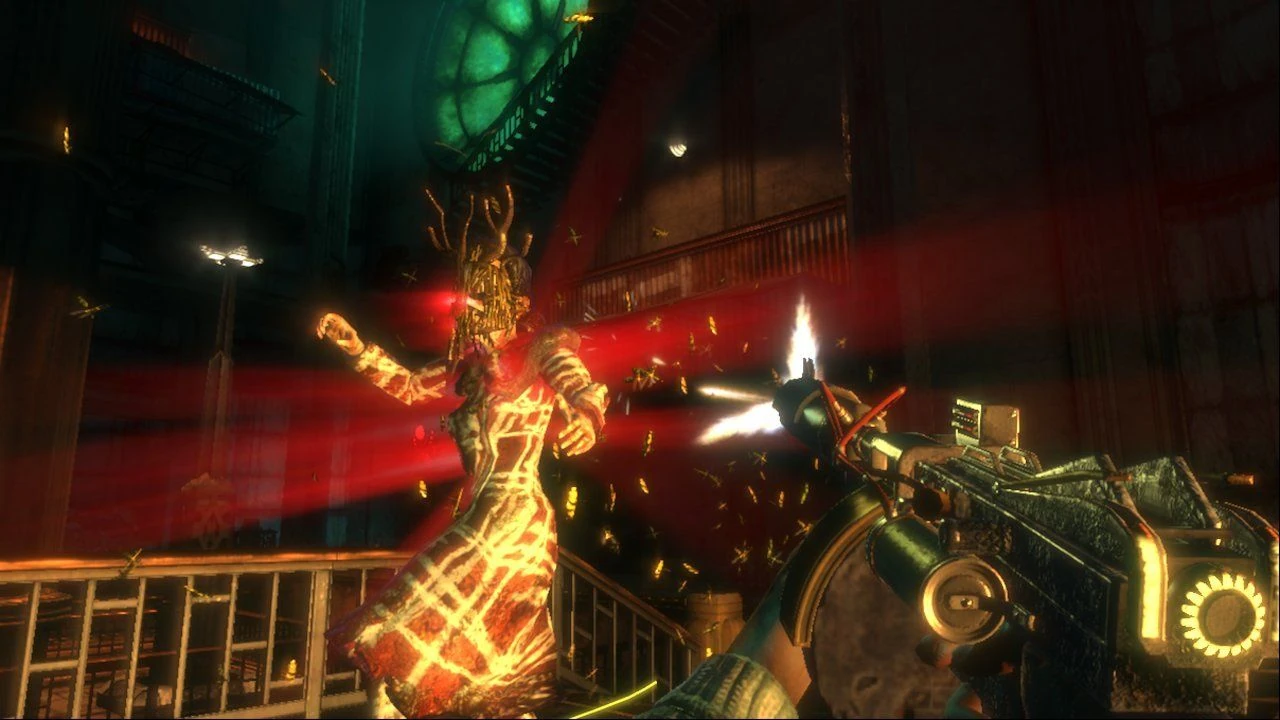
In this seventh stage, the player has to kill nine Houdini Splicers.
The stage is set in an elaborate simulation of Artemis Suites and features vertical gameplay amongst dizzying heights. A corpse in the antechamber contains twenty-four dollars and two film. Descending into the lions' den, the player is struck by the shear unpleasantness of the space; with its multiple open, raging fires, broken sections of stairway, battle-scarred walls, sandbags, and smugglers banners, the area is a visual representation of the Rapture Civil War. The player starts off at the top and must make their way down the long staircase, taking out Houdini Splicers along the way. Alternatively, the player may climb down and deal with all Houdini Splicers on the ground. While descending, the player passes a health station and a corpse (containing bandages) strung up like the one at the Rapture Metro station at Neptune's Bounty. At the plaza at the base of the level are dozens of photos of missing individuals lit by a pile of burning books. The Crossbow is an excellent weapon to use, as it is an efficient sniping weapon and can take out most Houdini Splicers in one shot while Telekinesis is a near-necessity for ammunition retrieval or to gather other items along the walkway like Distilled Water, an EVE Hypo, bandages, etc.
All Kinds of Big Daddies

Here, the player must kill a Rosie, Elite Rosie, Bouncer, and Elite Bouncer.
With its leafy foliage, cobblestone pathways, park benches, sliding Shōji doors, and even a water wheel, this simulation evokes the tranquility of Arcadia, but while fireflies gently float through the air, all is not rosy in this garden. Three of the Big Daddies will be roaming, but one Bouncer will be standing near the vent and attacking it. Enrage is the best Plasmid to use, as it will cause the Big Daddies to fight each other to the death. However, it should be noted that an Elite version of a Big Daddy can easily dispose of a regular version, so ensure that the Big Daddies you enrage are evenly matched, otherwise, the player will be left with a relatively undamaged elite Big Daddy to finish off.
All Kinds of Enemies

In this stage, the player has to kill Nitro Splicers, Houdini Splicers, Leadhead Splicers, Thuggish Splicers, Spider Splicers, and a Bouncer. There is also a harmless Turret in the center of the room that the player can hack.
Like the Security Turret Maze, this arena is evocative of Hephaestus with its heavy industrial feel, large equipment scattered about, and walls of geothermal tubing giving the whole site a reddish haze. To easily beat this stage, it's good to use Enrage to turn the enemies on each other, along with using Decoy towards two or more of them to also cause their conflict and to distract surviving enemies from the player.
Final Stage
Once all the stages have been completed, approach the trapped Little Sister in the center of the Hub. The lights will suddenly go out, and the player must now deal with every type of enemy (Except for Turrets). One at a time, enemies will teleport into the Hub from each of the eight rooms. Once they are defeated, a hostile Bouncer Big Daddy will charge at the player. Defeat it, then return to the Little Sister and she will open the door. Collect her and the challenge room is complete.
Gallery
")
Behind the Scenes
- The decorative cage that houses the Little Sister in the main room was designed by Laura Zimmermann.[1]
- The stylized logos above each door were designed by Robb Waters.[2]
References
| Locations and Businesses in Challenge Rooms | ||
|---|---|---|
 | The 'I' in Team | Rapture Firing Range |
| A Shocking Turn of Events | Rapture's Grand Carnival · Zimmermann Chardonnay | |
| Worlds of Hurt | Rapture's Combat Arena | |